


7 days ago4 min read


Jun 84 min read


May 44 min read


Apr 284 min read


Apr 284 min read


Apr 63 min read
So, you want to install a doorbell yourself? Great choice! It’s one of those small home upgrades that packs a big punch. Not only does it add convenience, but it also spruces up your entryway and gives you that satisfying feeling of having done something useful with your own hands. Plus, it’s a fantastic way to save some cash instead of calling in a pro. Ready to roll up your sleeves? Let’s dive into the doorbell installation steps that’ll have your new chime ringing in no time.
Before you grab your tools, it’s smart to know what kind of doorbell you want. There are mainly two types:
Wired Doorbells: These connect to your home’s electrical system. They’re reliable and don’t need batteries, but installation can be a bit more involved.
Wireless Doorbells: These run on batteries and communicate via radio signals. They’re easier to install but might need occasional battery changes.
Which one suits you? If you’re comfortable with a bit of wiring and want a permanent setup, wired is the way to go. If you want something quick and fuss-free, wireless is your friend.
Here’s a quick checklist to get you started:
Screwdriver (Phillips and flathead)
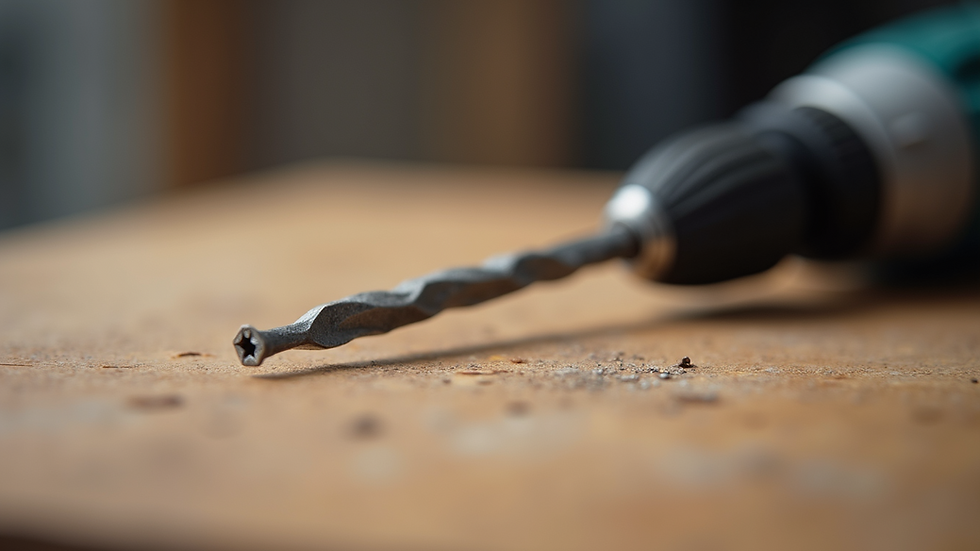
Drill with bits
Voltage tester (for wired systems)
Wire stripper
Tape measure
Pencil or marker
Level
Having these ready will make the process smoother and faster.
Alright, now for the fun part. Here’s a simple, step-by-step guide to get your doorbell up and running.
Safety first! If you’re installing a wired doorbell, head to your circuit breaker and switch off the power to the doorbell circuit. Use a voltage tester to double-check that the wires aren’t live.
If you’re replacing an old doorbell, carefully unscrew it from the wall and disconnect the wires. Keep track of which wire goes where – a quick photo with your phone can help.
Pick the spot next to your door where you want the button. Use a level to make sure it’s straight. Mark the screw holes with a pencil, then drill pilot holes. Screw the button into place.
Strip about 1/2 inch of insulation off the wires. Attach them to the terminals on the back of the doorbell button. It doesn’t usually matter which wire goes where, but check your model’s instructions to be sure.
Inside your home, find a good spot for the chime. It should be somewhere you can hear it clearly. Mount it on the wall or place it on a shelf, depending on the model.
Turn the power back on at the breaker. Press the doorbell button and listen for the chime. If it doesn’t ring, double-check your wiring and connections.
Simply mount the button outside and plug in or place the chime unit inside. Sync the two according to the manufacturer’s instructions. Easy peasy!

Thinking about whether to DIY or hire a pro? Here’s a quick breakdown of costs:
DIY Installation: The doorbell itself can range from $20 for basic wireless models to $100+ for smart doorbells with cameras. Tools you likely already have, so no extra cost there.
Professional Installation: Hiring a handyman or electrician can cost anywhere from $75 to $200, depending on complexity and location.
Doing it yourself not only saves money but also gives you the satisfaction of a job well done. Plus, if you’re in the greater Los Angeles area, Temecula Valley, or Riverside County, services like The Ultimate Handyman are there if you need a helping hand.
You’re almost there! Here are some insider tips to make your doorbell installation a breeze:
Check Your Door Frame Material: Different materials (wood, brick, stucco) require different drill bits and anchors. Using the right ones prevents damage and ensures a secure fit.
Use a Level: Nothing looks worse than a crooked doorbell button. Take a moment to get it straight.
Label Your Wires: If you’re dealing with multiple wires, label them with tape to avoid confusion.
Test Before Finalizing: Always test the doorbell before screwing everything in tight. It’s easier to fix mistakes early.
Consider Smart Features: If you want to upgrade, smart doorbells offer video, motion detection, and smartphone alerts. Installation is similar but may require Wi-Fi setup.
Sometimes, DIY isn’t the best route. If you:
Don’t feel comfortable working with electrical wiring
Have an older home with outdated wiring
Want a complex smart doorbell system integrated with home automation
Encounter unexpected issues like no power at the doorbell location
It’s perfectly okay to call a professional. They’ll ensure everything is safe, up to code, and working perfectly.
There you have it! With these clear doorbell installation steps, you’re ready to tackle your project confidently. Whether you go wired or wireless, simple or smart, your new doorbell will be ringing in style before you know it. And remember, if you ever need expert help in the Los Angeles, Temecula Valley, or Riverside County areas, The Ultimate Handyman is just a call away. Happy installing!

Businesses often choose commercial retractable roofs because they improve energy efficiency. By controlling sunlight exposure and https://cabriostructures.com/ natural ventilation, these systems help regulate indoor temperatures. Reduced reliance on heating and cooling equipment can lower energy costs, making retractable roofs both environmentally friendly and economically beneficial.
Very helpful troubleshooting guide. The step-by-step explanations make it easier for readers to identify and address common issues. I’ve seen https://countonsheep.com/ practical DIY content on and found this article equally useful.
Useful DIY guide for Single Parent Adoption California troubleshooting track lighting issues. The steps are clear and practical. I also came across a similar home repair discussion on.
Really enjoyed reading this guide — the steps were explained in such a clear and practical way that it actually makes a home task like doorbell installation feel much more approachable. I especially liked how you broke everything down into simple stages without overcomplicating things. I recently came across a similar home improvement discussion on a review blog https://grandoaksorthodontics.com/, and it also emphasized how small, careful steps can make a big difference in results. Very helpful overall.